How to make channel letter signs
Boost your brand visibility and enhance your storefront with channel letter signs.
These dimensional signs, featuring individual letters illuminated from within or behind, offer a professional and visually striking way to showcase your business identity.
Master the Art of Channel Letters:
This comprehensive guide equips you with the knowledge and steps to create channel letter signs, even if you’re a beginner.
1. Design and Conceptualization:
- Develop a captivating design: Align the sign’s size, font, color, and overall aesthetics with your brand identity. Use design software or sketches to visualize the final product.
- Craft letter templates: Create templates for each letter or logo element, considering factors like thickness and depth to achieve the desired visual impact.
2. Selecting the Right Materials:
- Durability and visual appeal: Choose from common options like aluminum (lightweight and customizable), stainless steel (modern and sleek), or acrylic (offers a variety of colors).
- Consider factors: Weather resistance, cost, and client preferences all play a role in material selection.
- Additional materials: You’ll also need translucent or opaque acrylic for the sign faces, depending on the chosen illumination method.
3. Fabrication Techniques:
- Precise cutting: Utilize CNC routers or laser cutters to ensure precise cuts and smooth edges, especially for intricate designs.
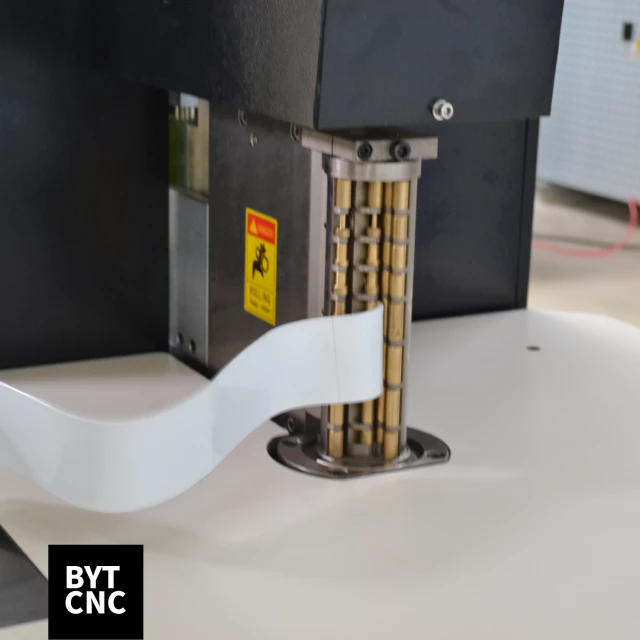
- Shaping the letters: Employ bending machines for aluminum and stainless steel, or heat bending for acrylic, to achieve the desired letter shapes. Ensure uniformity and proper alignment for a professional look.
- Joining the components: Securely weld or bond the letter parts using appropriate techniques for the chosen material. Maintain consistent spacing and alignment for a visually pleasing outcome.
4. Illumination Options:
- Light up your brand: Channel letter signs come alive with various illumination options, each offering unique benefits:
- Front-lit signs: Translucent faces allow light to shine through, creating vibrant effects. Consider using energy-efficient and long-lasting LED modules in various colors.
- Back-lit signs (halo-lit): Opaque faces with lighting directed at the back produce a captivating halo effect.
- Combination-lit signs: Combine both front and back illumination for maximum impact.
- Open-face signs: A unique style with exposed bulbs or neon tubing for a vintage aesthetic. Be mindful of local lighting regulations for open-face signs.
5. Installation and Wiring:
- Professional installation: Ensure the sign’s longevity and functionality with proper installation by qualified professionals.
- Discreet wiring: Route the wiring carefully through the letters, connecting the internal illumination to the power source for a seamless look.
6. Finishing and Protecting the Sign:
- Enhance aesthetics and durability: Apply a powder coat or paint to the metal components for additional protection and aesthetics.
- Shield from the elements: Utilize a protective clear coat on the sign faces to safeguard against UV rays, dirt, and weathering.
7. Maintenance and Care:
- Preserve your investment: Regularly clean the sign faces with mild soap and water, avoiding harsh chemicals.
- Inspect and address issues: Regularly check for loose components, damage, or lighting problems, and address them promptly.
- Schedule maintenance: Consider professional maintenance to keep your sign in optimal condition.
Conclusion:
Crafting channel letter signs is an achievable endeavor with this guide. By following these steps and focusing on design, material selection, fabrication, illumination, installation, and maintenance, you can create impactful and professional signs that leave a lasting impression. As you gain experience, you’ll refine your skills and elevate your sign-making expertise to new heights.


Learn more about
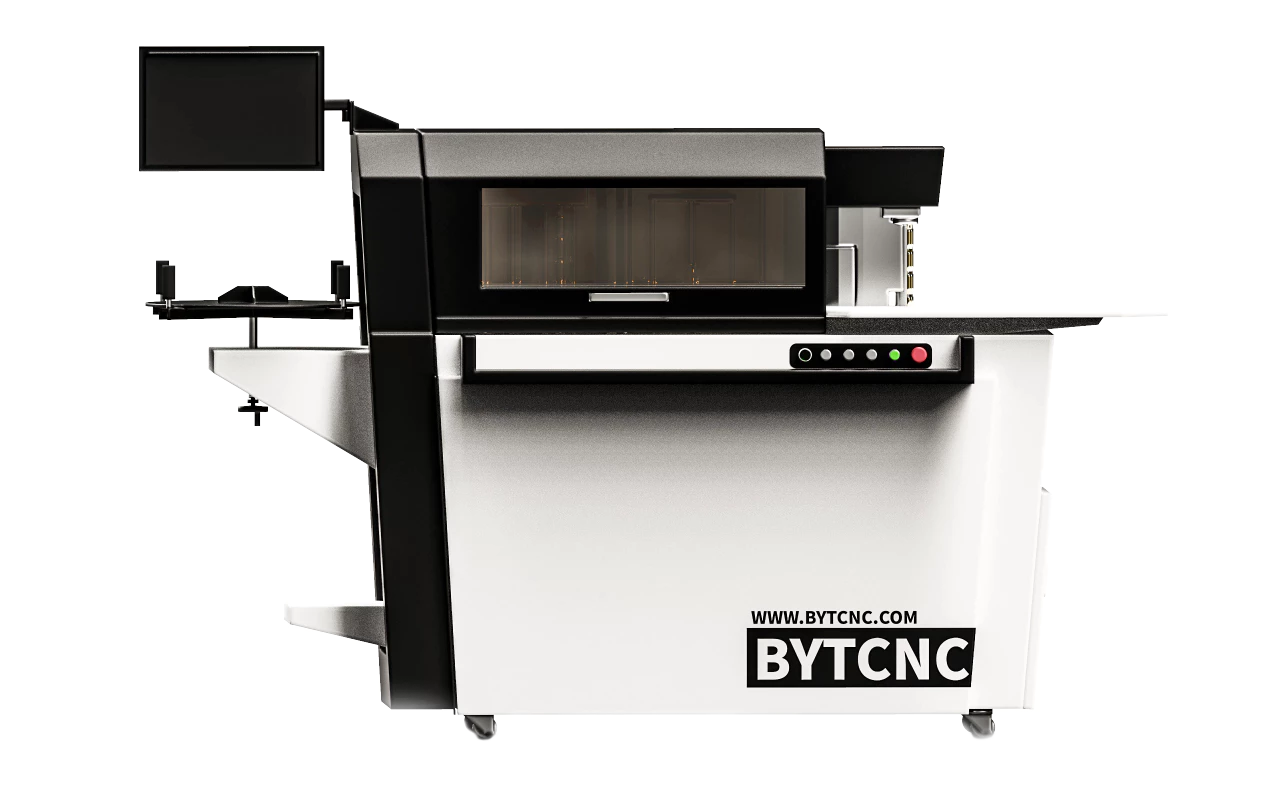
BYT Channel Letter Bender
Processing material width:10-160mm
Thickness:
Aluminum 0.3-1.5mm,
Stainless steel 0.3-1.2mm.
Suitable for All kinds of material.
